
Building a storefront from scratch in Salesforce Commerce Cloud is one of the most instructive things you can do as an SFCC developer. This guide walks through the foundational steps — from planning through to a working base storefront ready for customisation.
Planning Your Storefront
Successful storefront development begins with planning before a single line of code is written. Define your target audience clearly and establish your brand identity. Outline your store’s structure: which product categories you need, how navigation should flow, and what the user experience looks like across the homepage, category pages, product detail pages, and checkout.
Planning at this stage saves significant rework later. Decisions about multi-currency, localisation, and site structure are expensive to change once development is underway.
Setting Up the Site in Business Manager
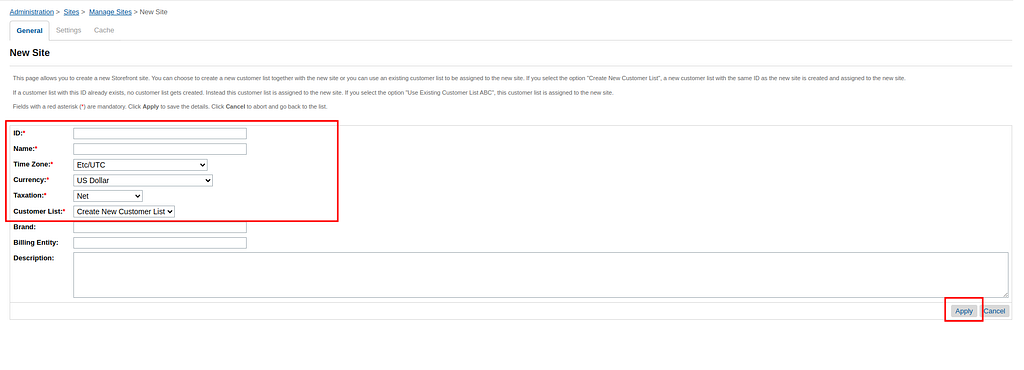
Log in to SFCC Business Manager and navigate to Administration > Sites > Manage Sites. Select the option to create a new site, then:

- Provide a unique name and identifier for your site
- Configure the appropriate currency settings for your market
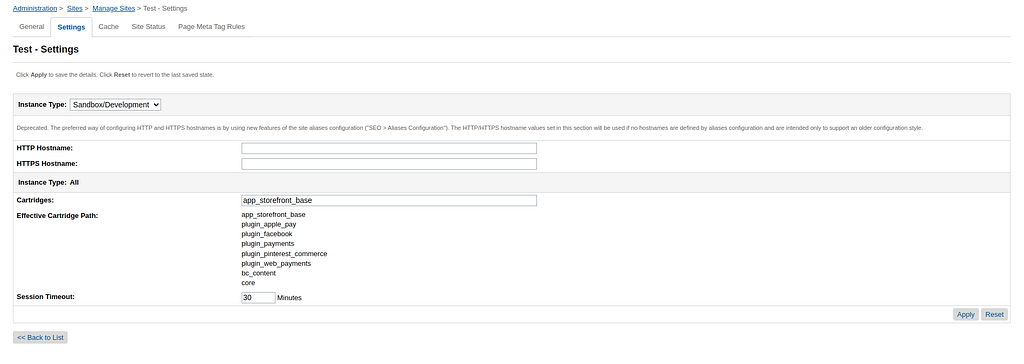
- Update the cartridge path to reflect your code structure — for a learning exercise, the
app_storefront_basecartridge is the right starting point
Site Status
SFCC offers three site status options:
- Online — fully accessible to all visitors
- Online Protected — accessible but password-protected
- Maintenance — displays an offline page to all visitors
For development purposes, use either Online or Online Protected so the site remains accessible while you work.
Cache and Initial Configuration
Once the site is created, configure the cache settings. SFCC’s caching layer has a significant impact on performance — understanding it early prevents debugging surprises later.
What You Have After These Steps
After completing the above, you will have a basic storefront with a header and footer rendered from the app_storefront_base cartridge. It is minimal, but it is a real, working SFCC storefront — and the foundation onto which all your customisation will be built.
From here, you add your custom cartridge to the cartridge path, which is where bespoke design and functionality development begins.
Coming Up
In the next parts of this series, we will cover:
- Configuring locales and regional settings
- Setting up SEO and URL aliases
- Configuring taxation and shipping methods
- Creating master and storefront catalogues with pricebooks and inventory management
Each of these topics builds on the foundation established here. The goal is to give you a complete picture of what goes into a production-ready SFCC storefront.